Secret Snowflake

The company I work for decided to take a twist on Secret Santa and offered a Secret Snowflake. On a bit of a dare, I decided to take part.

The total limit was $20 and gifts are to be dispersed across 8 work days. It wasn’t specific if you are supposed to do multiple things, but I decided to get something for each day.

I did stick with the spend limit with three days of handmade using materials already on hand. I’m not sure how many people at work know I do crafting on the side, but I think many more know now.

To learn more about our Snowflake, everyone filled out a form answering questions about favorites, likes, dislikes, that kind of thing. My person likes Universal Monsters, crows, and Pokémon. The other things were related to food and drinks, which was where my $20 went.

I made a journal/sketchbook (the last time I attempted this was 2013), this attempt went much better. I created it with two covers so my Snowflake wouldn’t have to pick where to start. I also figure they could make a second book if desired. For the covers I used the Universal Monsters and a crow. Because of the general theme, the parts that pull off worked out great.

The next thing I made was a window cling cut out of a crow. This I packaged up and did not photograph before delivery. I happened to have black window cling since I got my Cricut in 2017. It was never opened, so I took this opportunity to give it a try. I hope it’s clingy!

The last handmade was for the Pokémon theme. I did use Co-Pilot to help me figure out which Pokémon would be pink, purple, or green (favorite colors) and small enough to fit in the mini keychain I have. I found a site with lots of free individual characters and pokeballs. Something I learned was there are multiple pokeballs, which took me back to Co-Pilot to ask what you catch a Ditto with. Which is how I landed on stitching an Ultra Ball. Turns out the Ditto is pretty cool.

All the gifts were a hit. I’m glad I chose to participate. It was the highlight of my week for sure. All the planning and plotting to keep my secret and deliver above expectations.

Stitching

Ditto started: December 8, 2024

Ditto finished: December 11, 2023

Ditto stitching time: 5.5 hours


Ultra ball started: December 12, 2024

Ultra ball finished: December 13, 2023

Ultra ball stitching time: 1.75 hours

Follow current projects on Instagram @craftyk.3
Also on Snapchat

DIY Sketchbook/Journal

My sometimes wanning addiction to Pintrest is what lead to this project. Years ago I made a journal at a lady’s house, she was a friend of my mom. She had countless stamps at her disposal, I’m sure those fancy punches too. I assume she was a scrapbooker normally, which is an expensive hobby, and so she invited people to make journals. These journals cost around $20 for use of the supplies. The books and pages were pre-cut into 5×7’s and then hole punched. All you had to do was decorate the covers and assemble. My journal ended up with a combo of Elizabethan and Egyptian theme to it. Odd, but looked cool. We even pasted in a little blurb about a gratitude journal into it. I think Oprah had recently mentioned them on a show. Mind you I made this at least 10 if not 15 years ago.

Now I am taking that premise and adding a new and more complicated twist. I took the idea of transferring photos to wood blocks from Pintrest (see here). I’ve taken this and have been working on transferring photos to mat board to create the cover of my journals. The first one I made I gave to a then co-worker who was looking for a more pocket friendly, line free sketchbook. So now these journals are more pretty blank page books for whatever you want.

IMG_3321The first time I tried to make a transfer I decided to forgo the instructions from the bottle of transfer adhesive stuff and chose to follow the Pintrest video instead. This worked out ok, but with so much paper and lots of water, it just didn’t work out as well as I had hoped. There were lots of white streaks from where not only the paper came up, but the photo as well. This was turned into abstract wall art instead of a journal.

I  decided that my second go of the photo transferring should be attempted after reading the instructions on the bottle. Just so you know this still uses a lot of water, and I swear shrinks up the picture a little. And as it dries, add more water, these transfers are super thin and tear easily. This project takes a lot of patience, but the end result is worth it. Now I am working up some more journals to list on Etsy.

IMG_3325

Sadly this set ended up too dry when I went to adhere it to the matte board, so there are no finished project images. But I have had a couple of successes, just not this time.

The Vanishing Act

Since October I have been laying off a lot of things I used to do. I am now over a month behind on TV, tonight I am hoping to watch the sudden series finale of Leverage from Dec. 25th. Even cooking and crafting have taken a backseat recently.

I think I tried to take on a bit too much the last few months. Trying to build a photography business, an Etsy crafting shop, read my magazines (which I’m finally up to August issues), read a book (I’ve been reading Dracula since October), and blog about my doings, all while while working full time. This really hasn’t worked out as I had high hopes for last year.

And then there’s the cookbook. I have been typing up recipes from my Taste of Home and Healthy Cooking magazines. Even though it takes a while it really helps with typing skills.

So with the new year well on it’s way, I hope to be better about posting my goings ons. And hopefully get to cooking and crafting again!

Chairs

I can’t believe I am forgetting about something I’m about to embark on. It involves my new dining room chairs.

These chairs aren’t actually new. I have recently acquired my great-grandmother’s dining room table and chairs from a different table. These chairs will need to be stained a little darker to match and they surely need to be recovered. That’s when the fun starts. Picking a new fabric and color. They also need padding, BAD.

If anyone has reupholstered and put padding on an old wood chair a few tips of the trade would be appreciated! I will be documenting the results once I figure out how I will be going about this little venture.

Mirror, Mirror

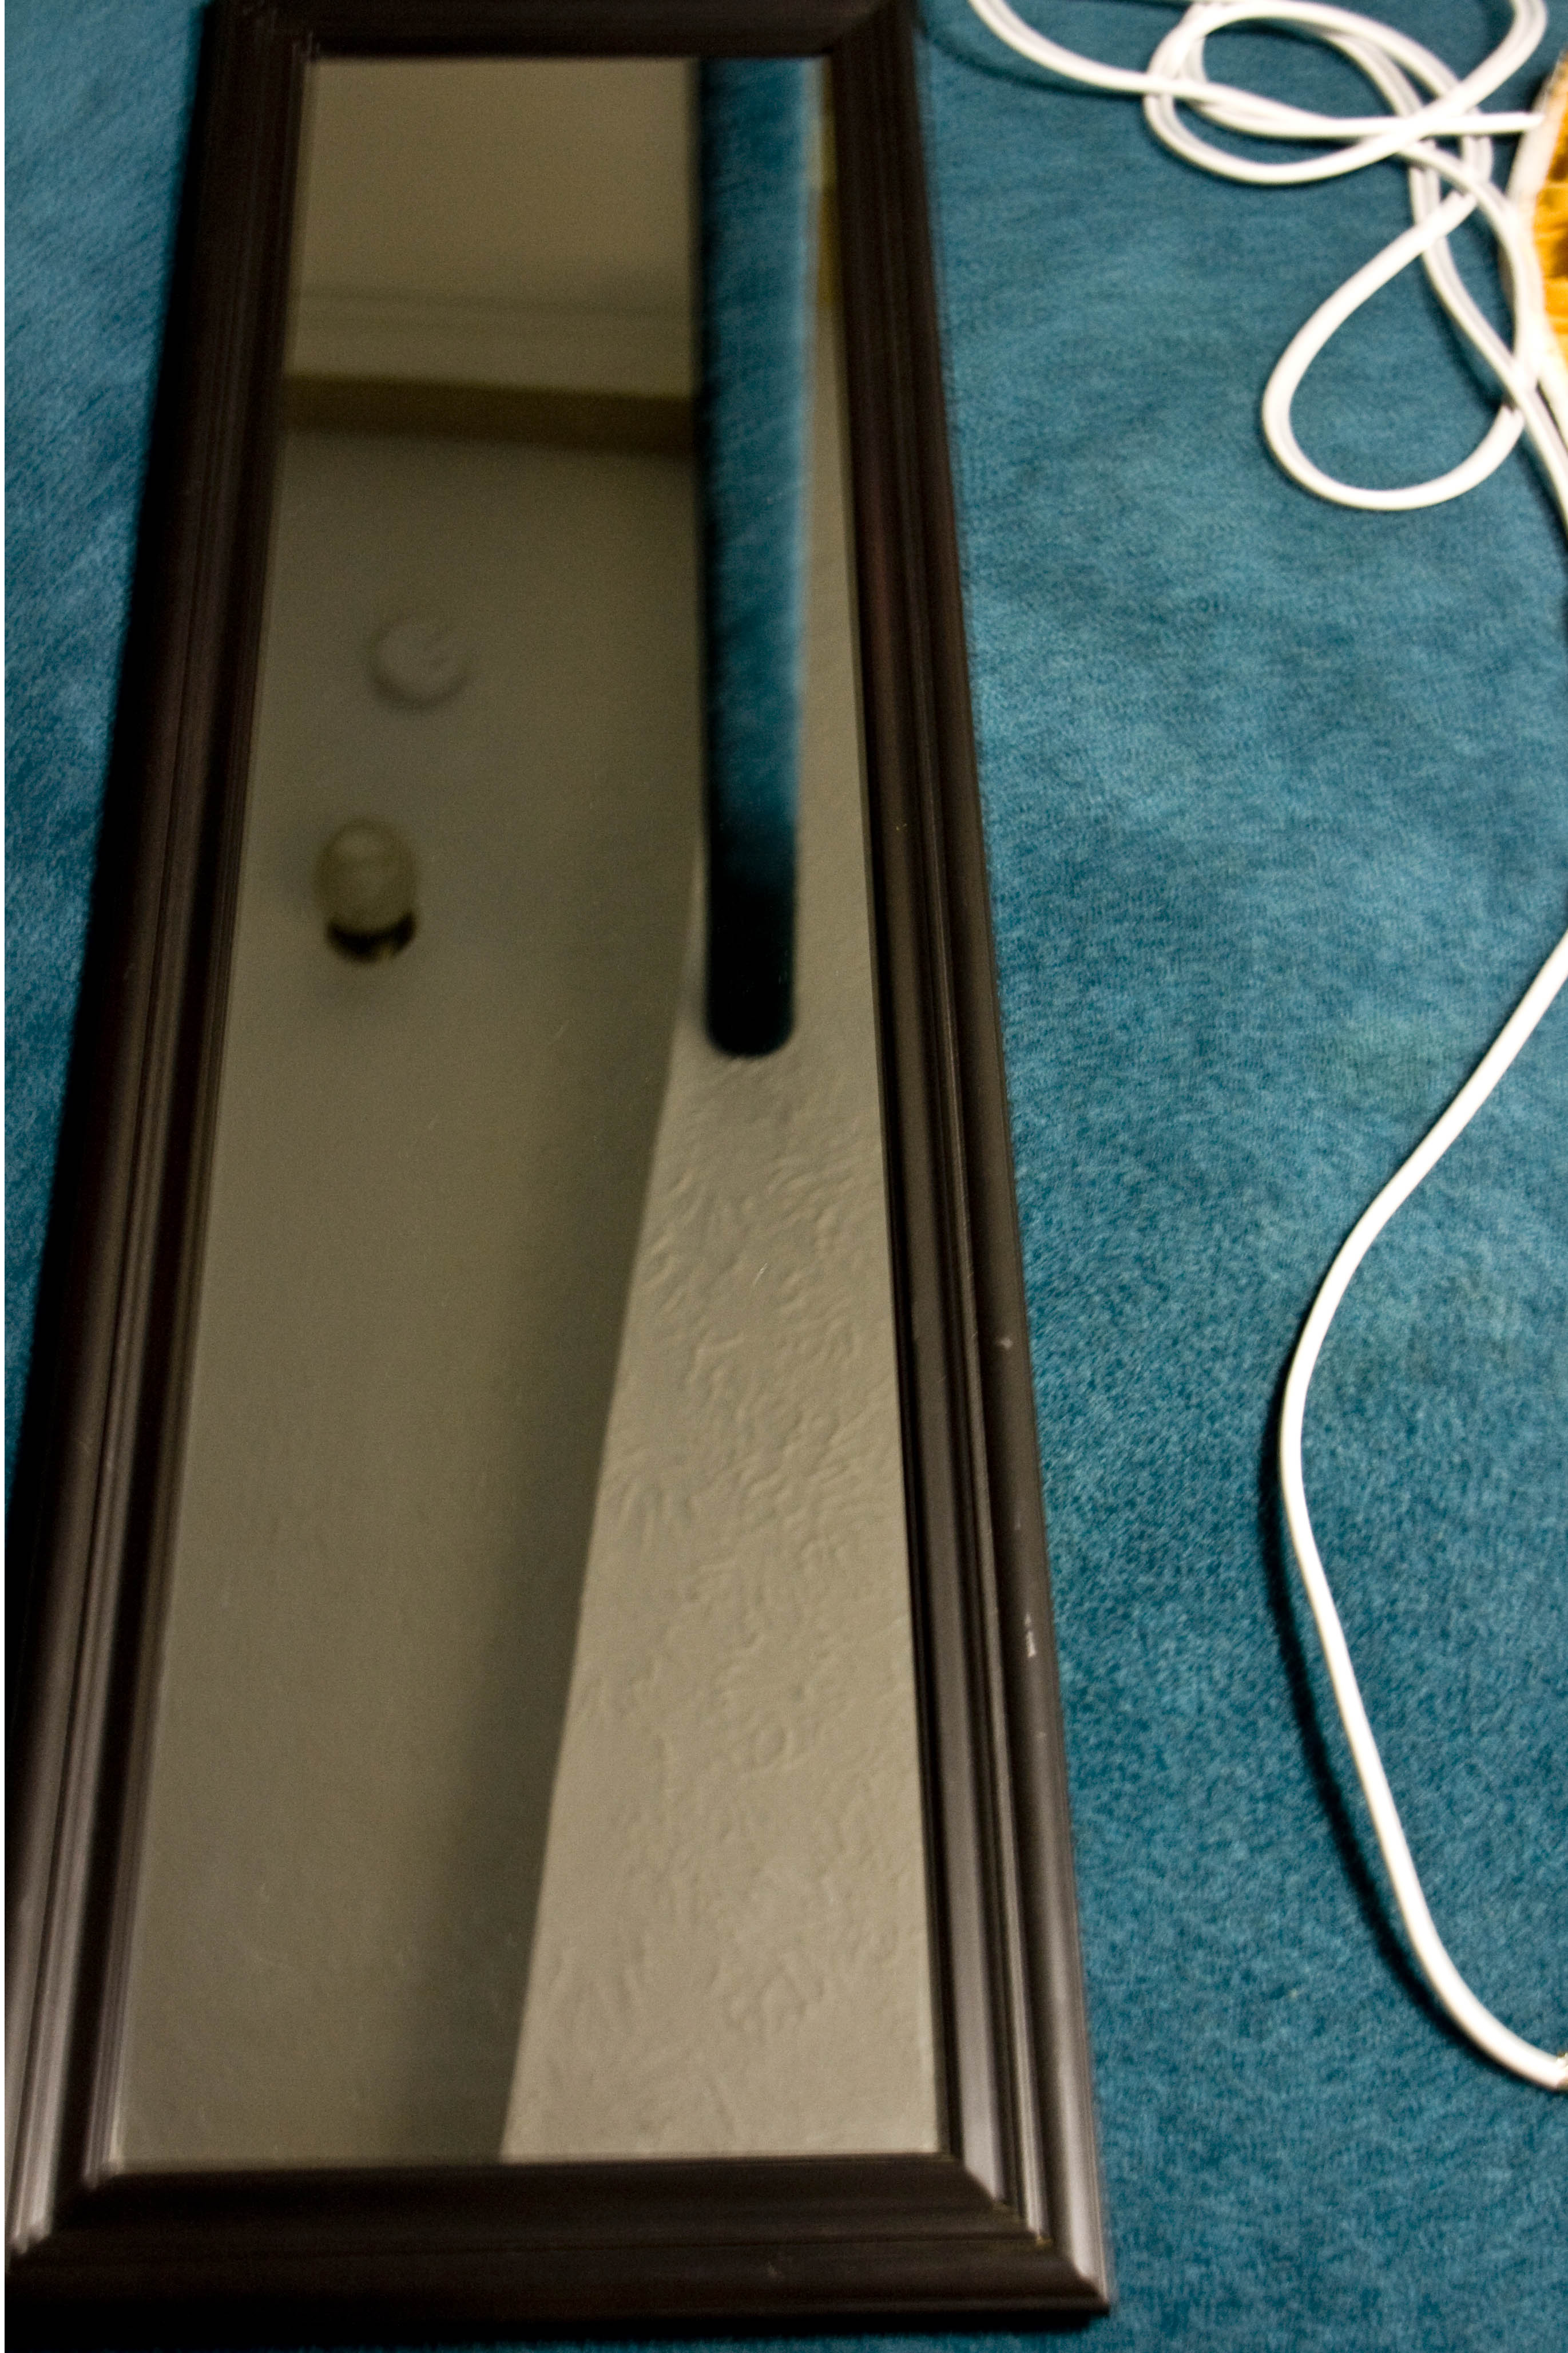
I have this full length mirror from college. It is pretty simple with just a black frame on it. It worked well for a dorm, but I didn’t need it in my house. I decided that maybe some glass etching would work to make this mirror more of a piece of art than the clutter it was becoming.

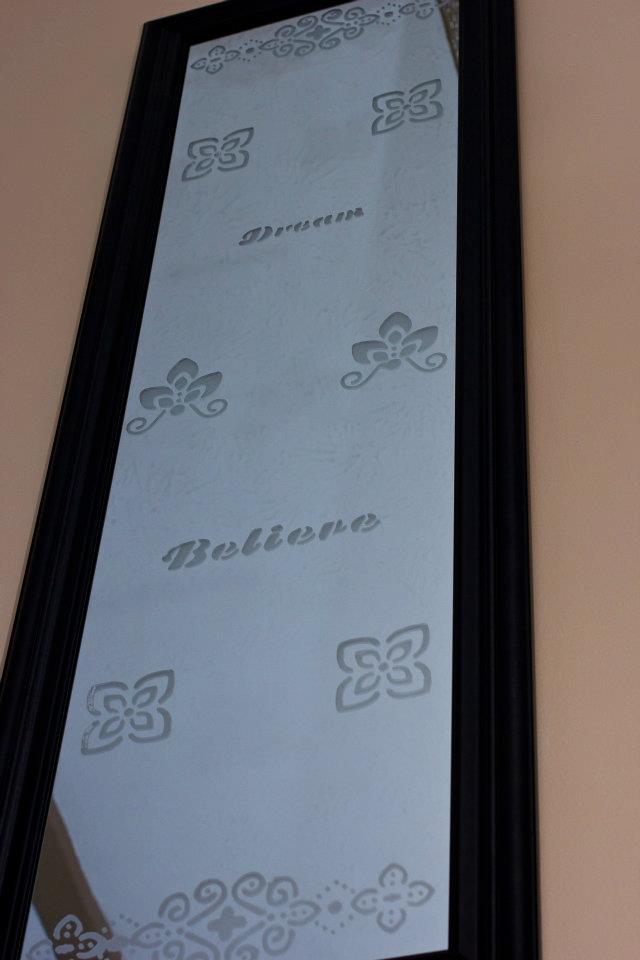
I went to the store to get the glass etching stuff. (Armour Etch if you really want to know). And I needed some stencils too. So I found some that included words like “dream” and “believe”, you know the uplifting ones. There were also border looking designs too.

I used tape to mark off where I wanted to place the designs and words in a balanced manner. And that also helps to keep things even across the mirror.

This is what I ended up with. We have this tall wall at the top of the stairs from our little landing at the front door. It helps open up the space and is now a mirror that serves a little purpose as a mirror and mostly serves as a nice decorative piece.

It’s pretty simple and if you have a few weekends and maybe a couple of evenings you can re-purpose an old mirror. I have also seen this done on bathroom mirrors to liven up the bathroom. It works best on the mirrors that are just attached to the wall and take up a lot of the space. If you have a small mirror I wouldn’t recommend covering up what little space you do have to see yourself when getting prettied up.

Pin It